

Workflow of Jenkins
In the previous blog, we learned about the basics of Jenkins and its installation process on an Ubuntu server. In this blog, we will see the type of projects that can be handled with the help of Jenkins. As you know Jenkins is the only tool responsible for continuous integration. Let's understand how it performs continuous integration:
Download the plugins that you want to work with in Jenkins such as Git, Maven etc.
As soon as the developer pushes code to GitHub, Jenkins pulls that code and integrates it with Maven for building. There can be any other tool used for code building.
Once the code building is done, Jenkins again pulls the code and sends it to Selenium where testing is performed using different test cases.
If there is any problem encountered during the testing phase, Jenkins again sends it to the developer for fixing the same.
At last, the successfully tested code is delivered or deployed based on the requirement by Jenkins only.
Hence, the whole process travels around the Jenkins tool only. Now, you can imagine how important it is for DevOps.
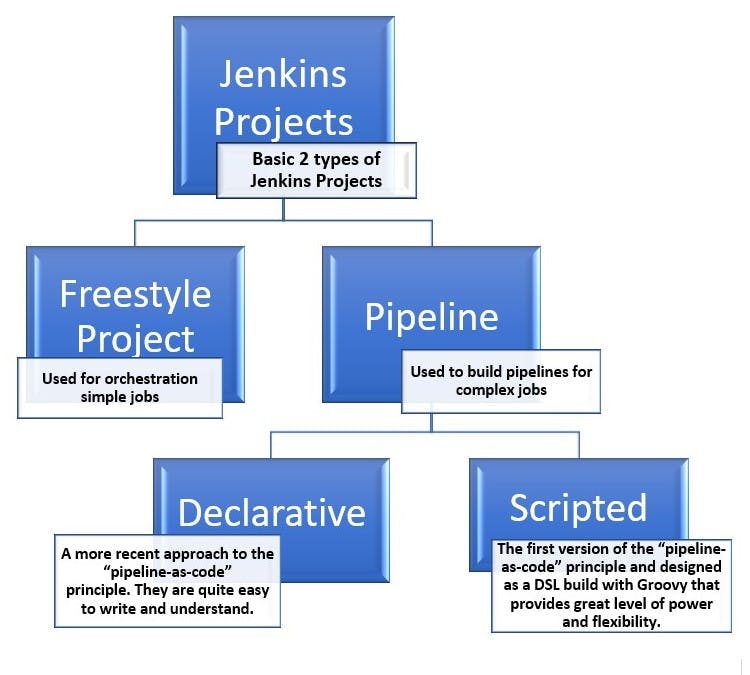
Types of Jenkins Projects
There are different types of projects that one can make with the help of Jenkins. Here, we will focus on the most important types as defined below:
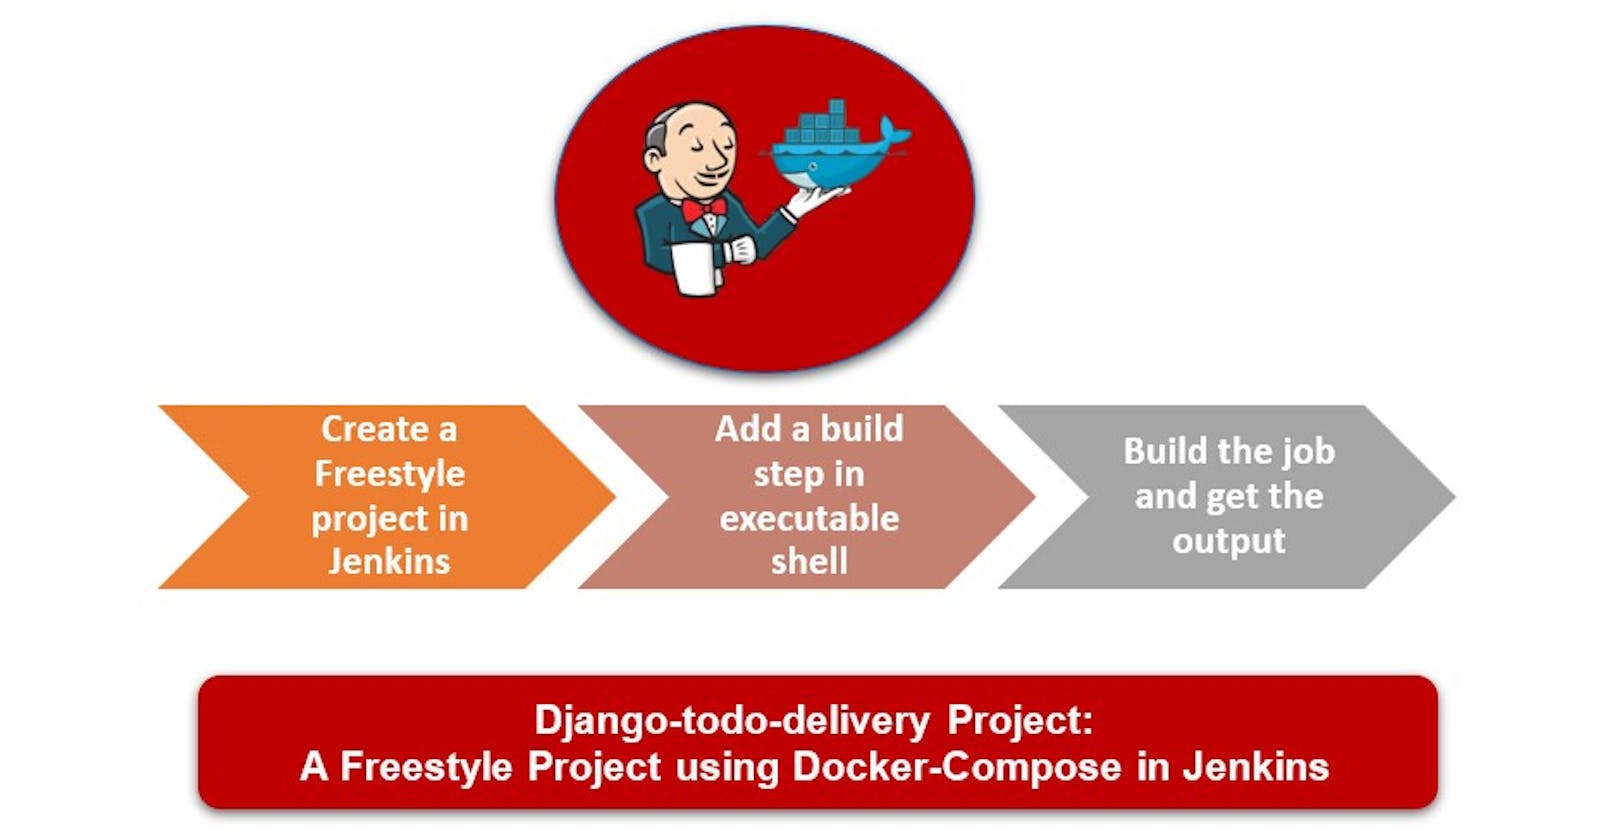
Freestyle Delivery Project 1: Under this, we will run simple Jenkins jobs for code building using GitHub only.
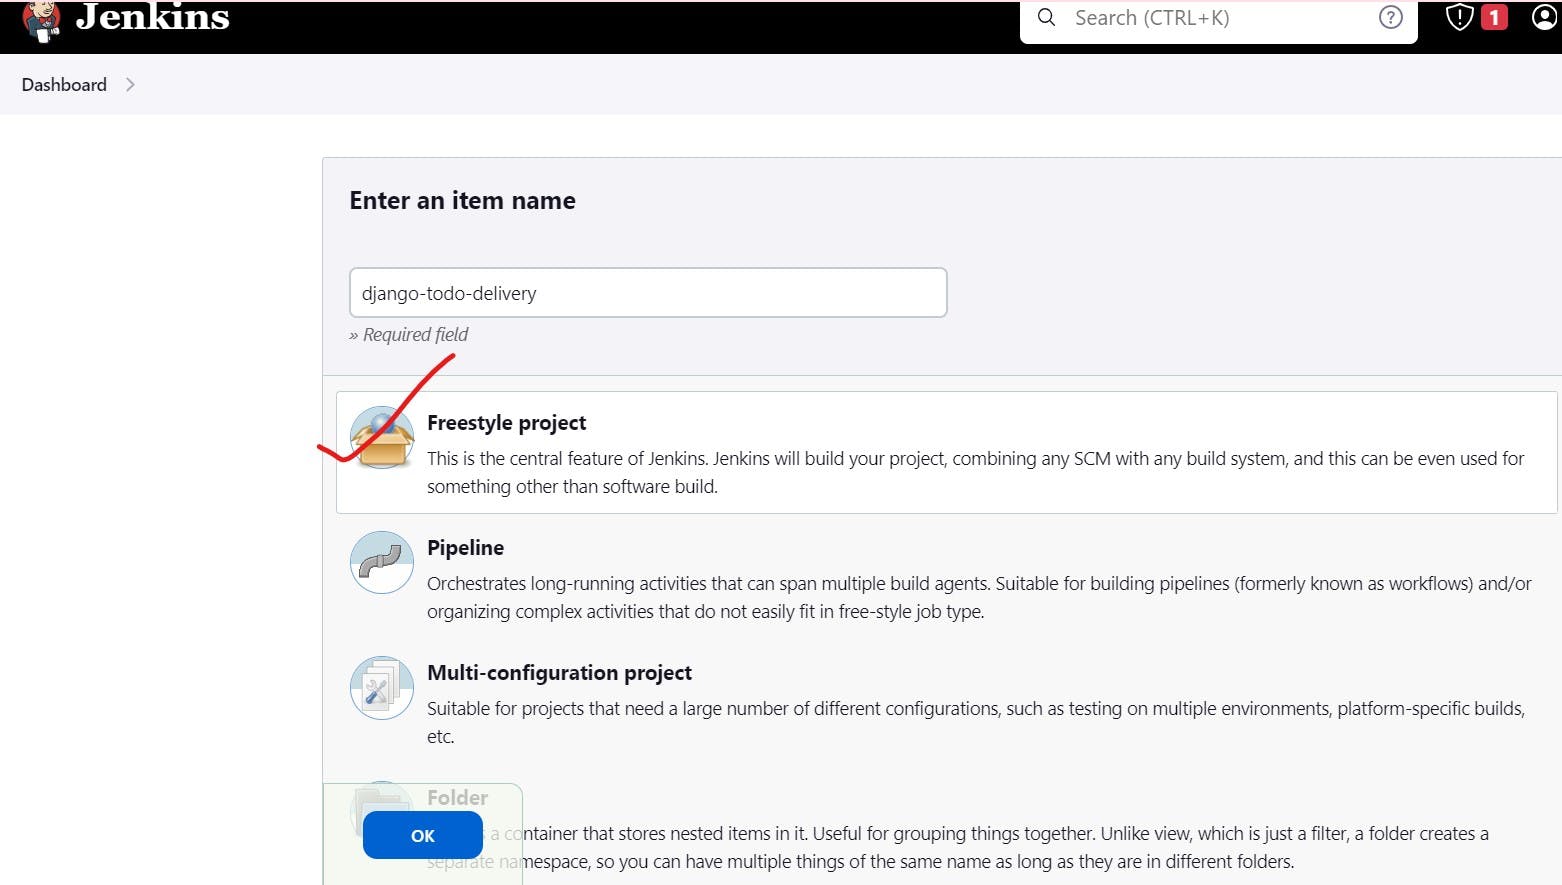
Step 1: Select a Freestyle project for delivery of the Django-todo app and enter the item name whatever you want.
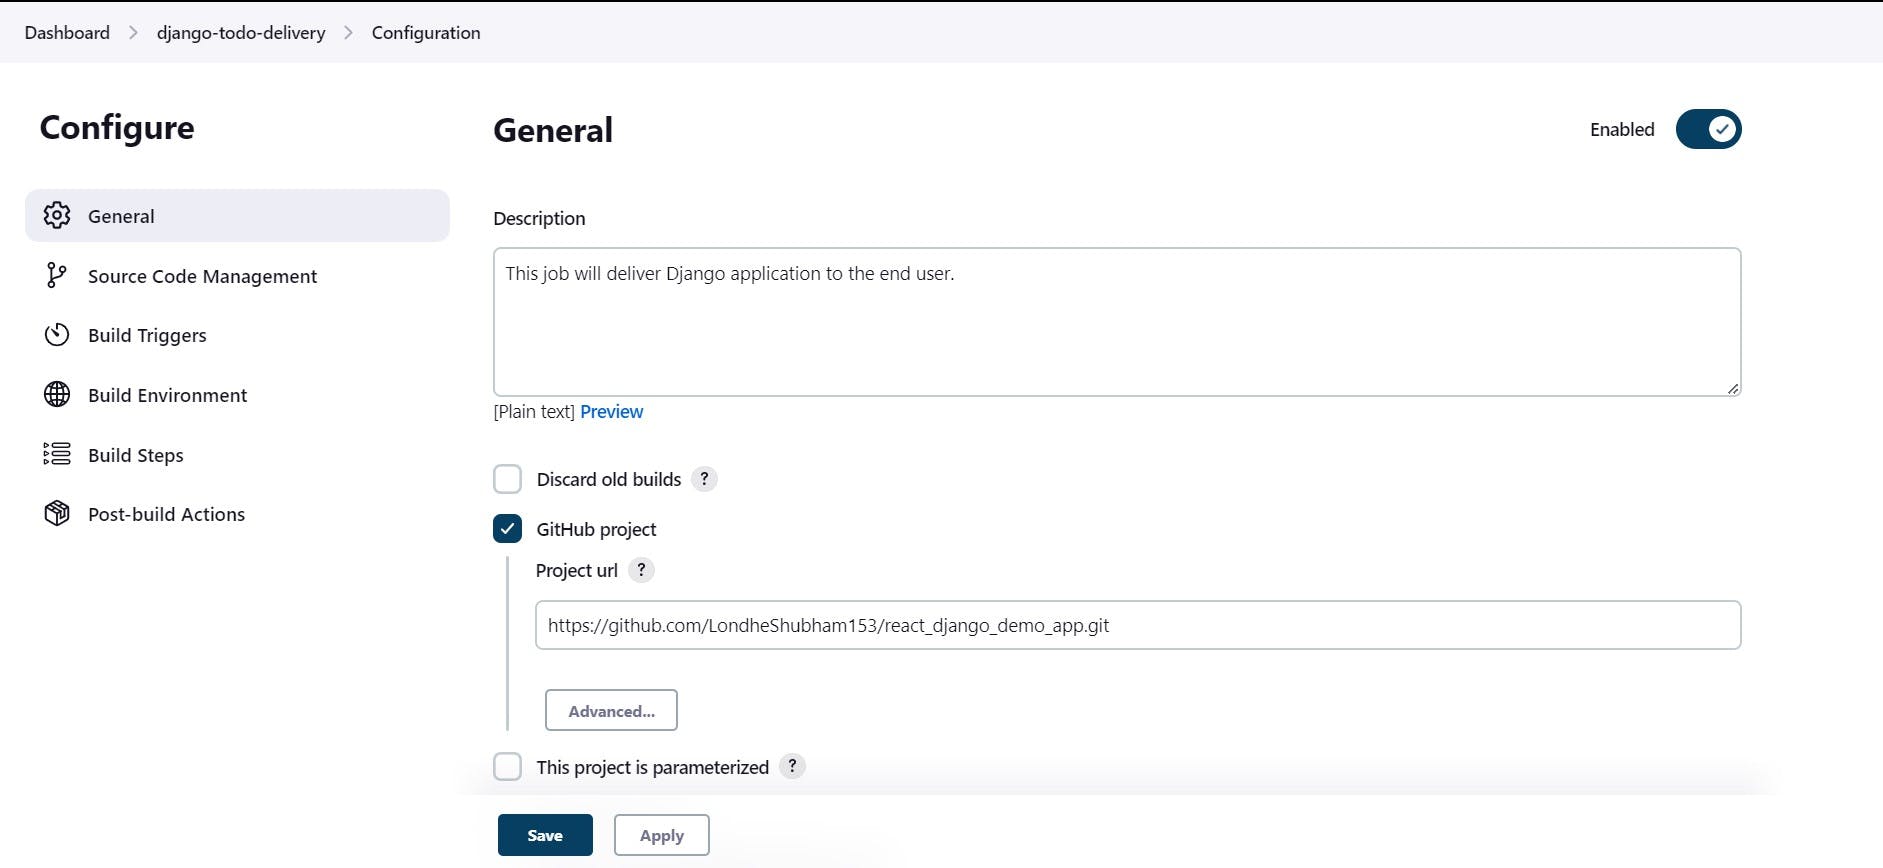
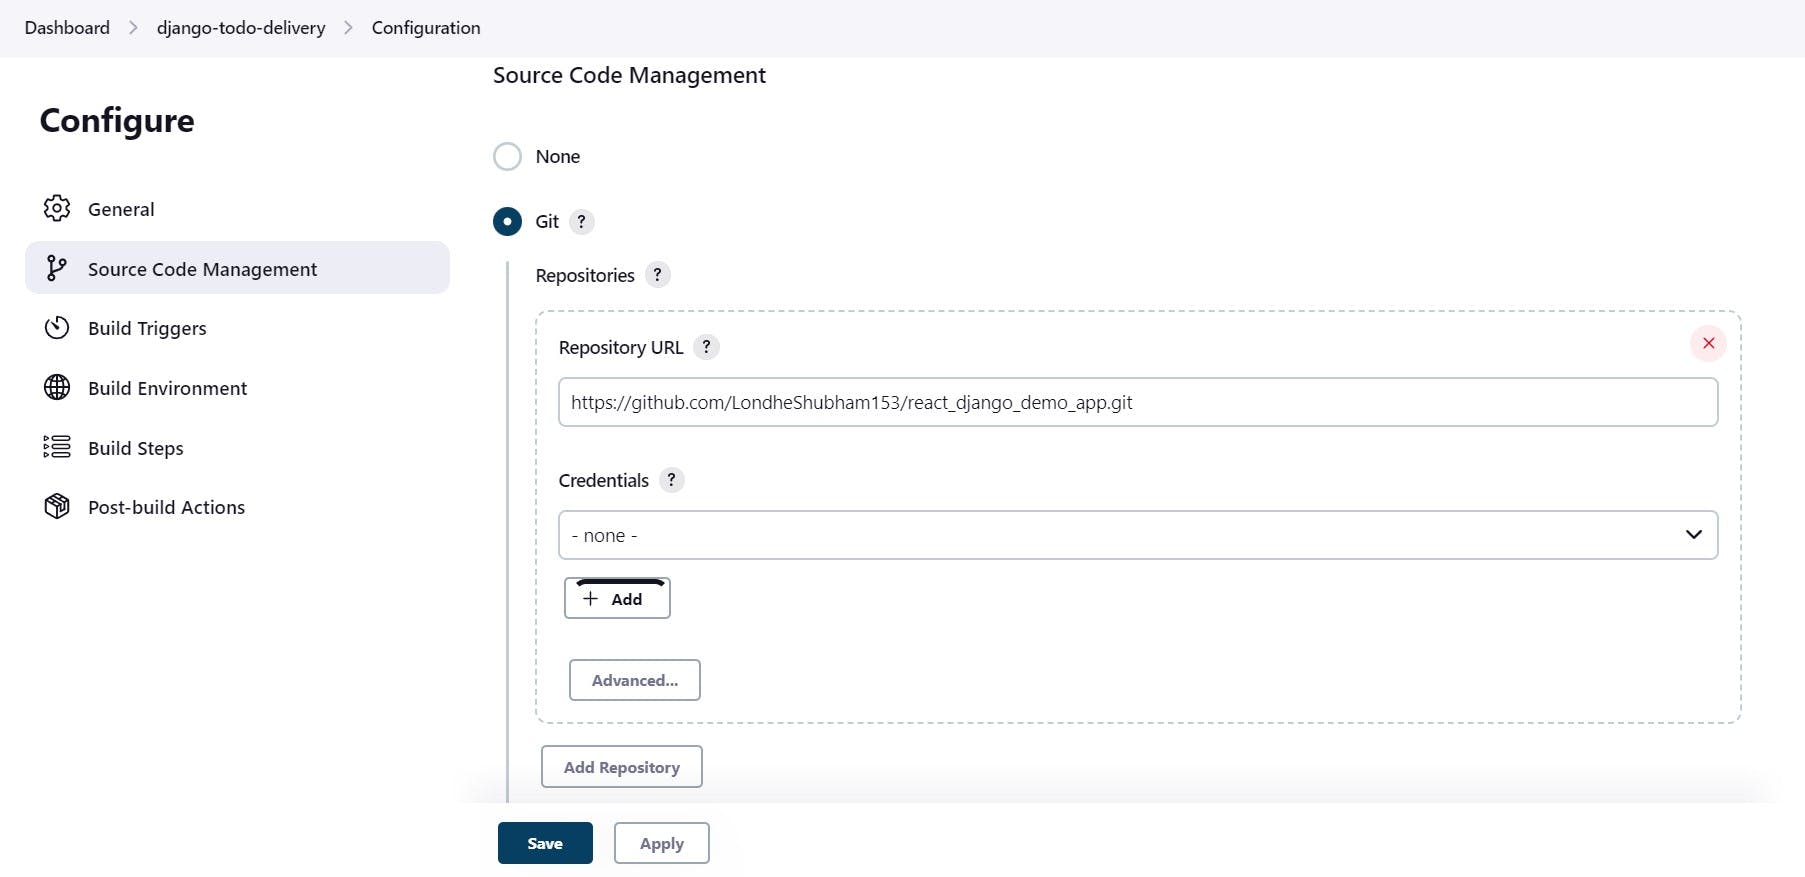
Step 2: Go to the configuration and add the GitHub repository URL link.
This is to remember that working with Git in Jenkins will only work if you have downloaded the plugins for GitHub integration. The given GitHub repo will be cloned to your project. You can also describe your project briefly in the description box so that users can get an idea of your project.
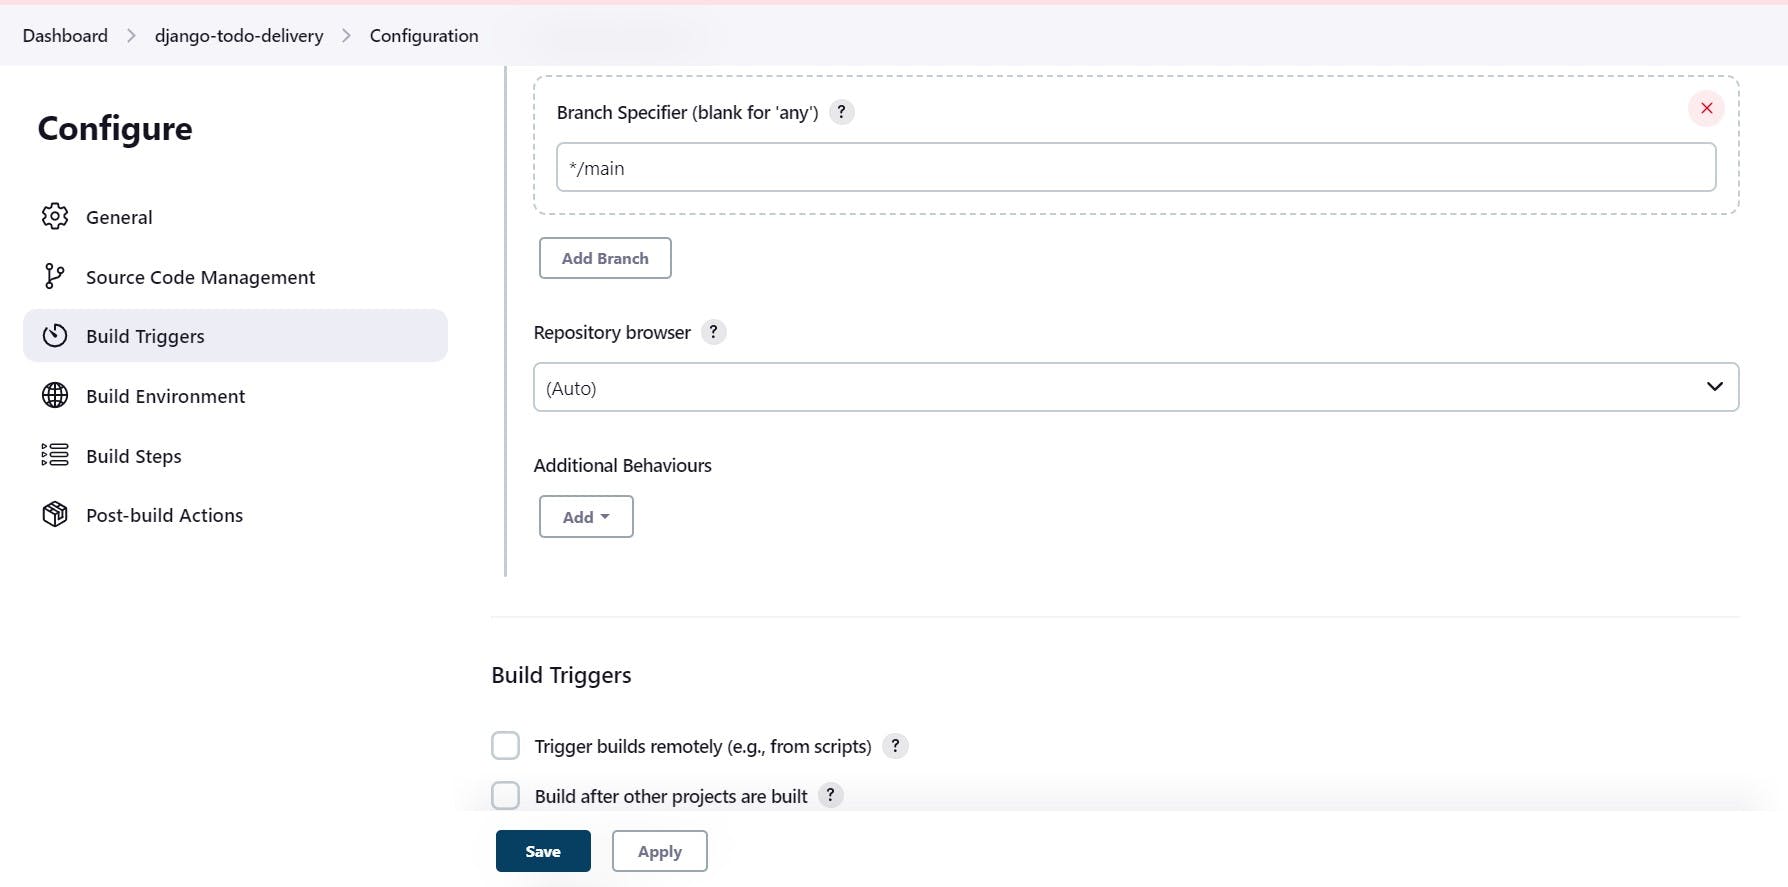
Step 3: As we are working with Source Code Management (SCM) as Git, define the URL of the repository and the branch whether it's main or master.
Here it is showing Git as SCM tool because Git plugins are already installed before starting this project.
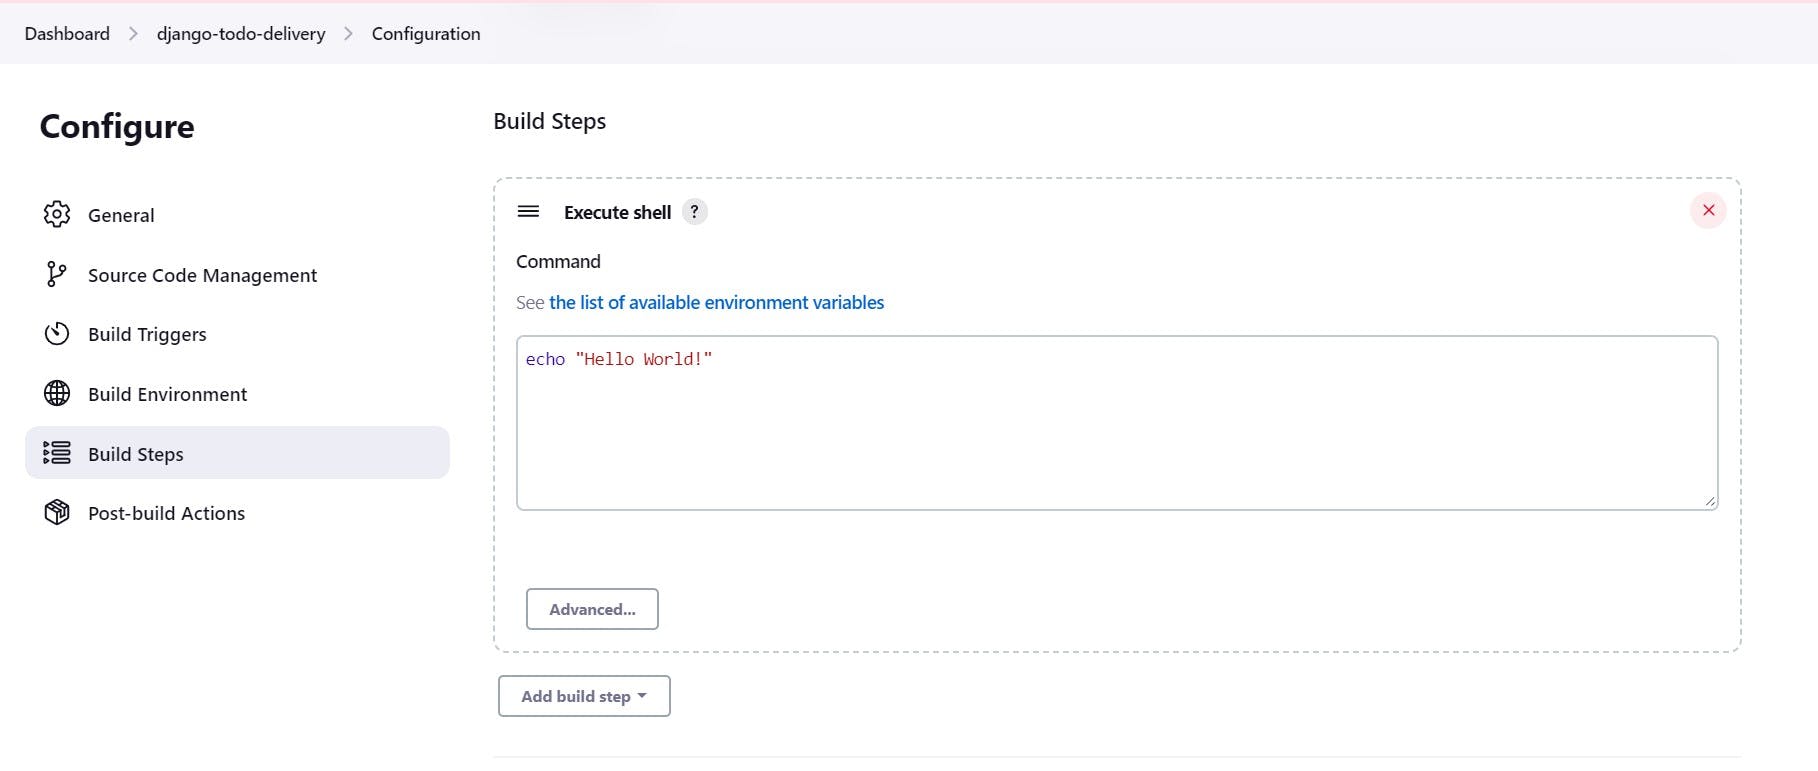
Step 4: Build Steps will contain an executable shell where you can write the script.
This script will run at the time of build and act as per the commands written in it. Here we have written a message to be printed as 'Hello World'.
Step 5: After every stable or unstable build, the E-mail notification option will send the notification to the users whose emails are provided in the space below.
There can be a single user or multiple user's email addresses separated by whitespace. You can choose the option for which you want notification on your mail. Save the project now.

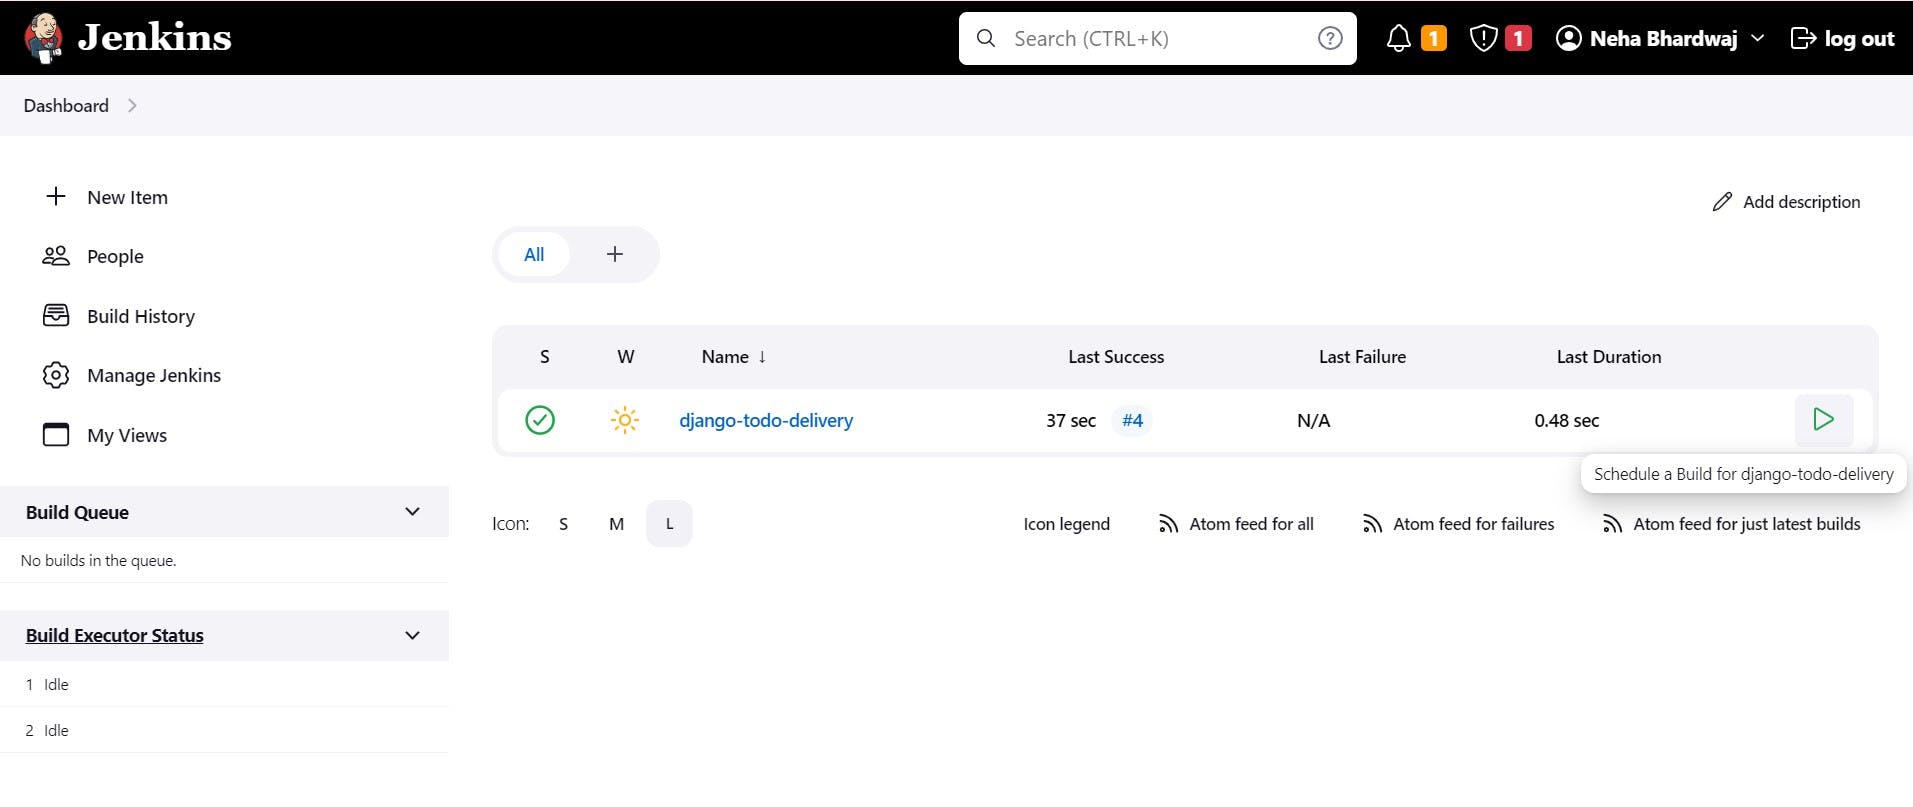
Step 6: You will see a project with the same name on the Jenkins dashboard. To start building code, you need to execute the same by clicking on the play button.
On the left-hand side, build executor status will show you the status of your latest build. You can explore more about a building job by clicking the latest build. '#' represents the number of the latest build.
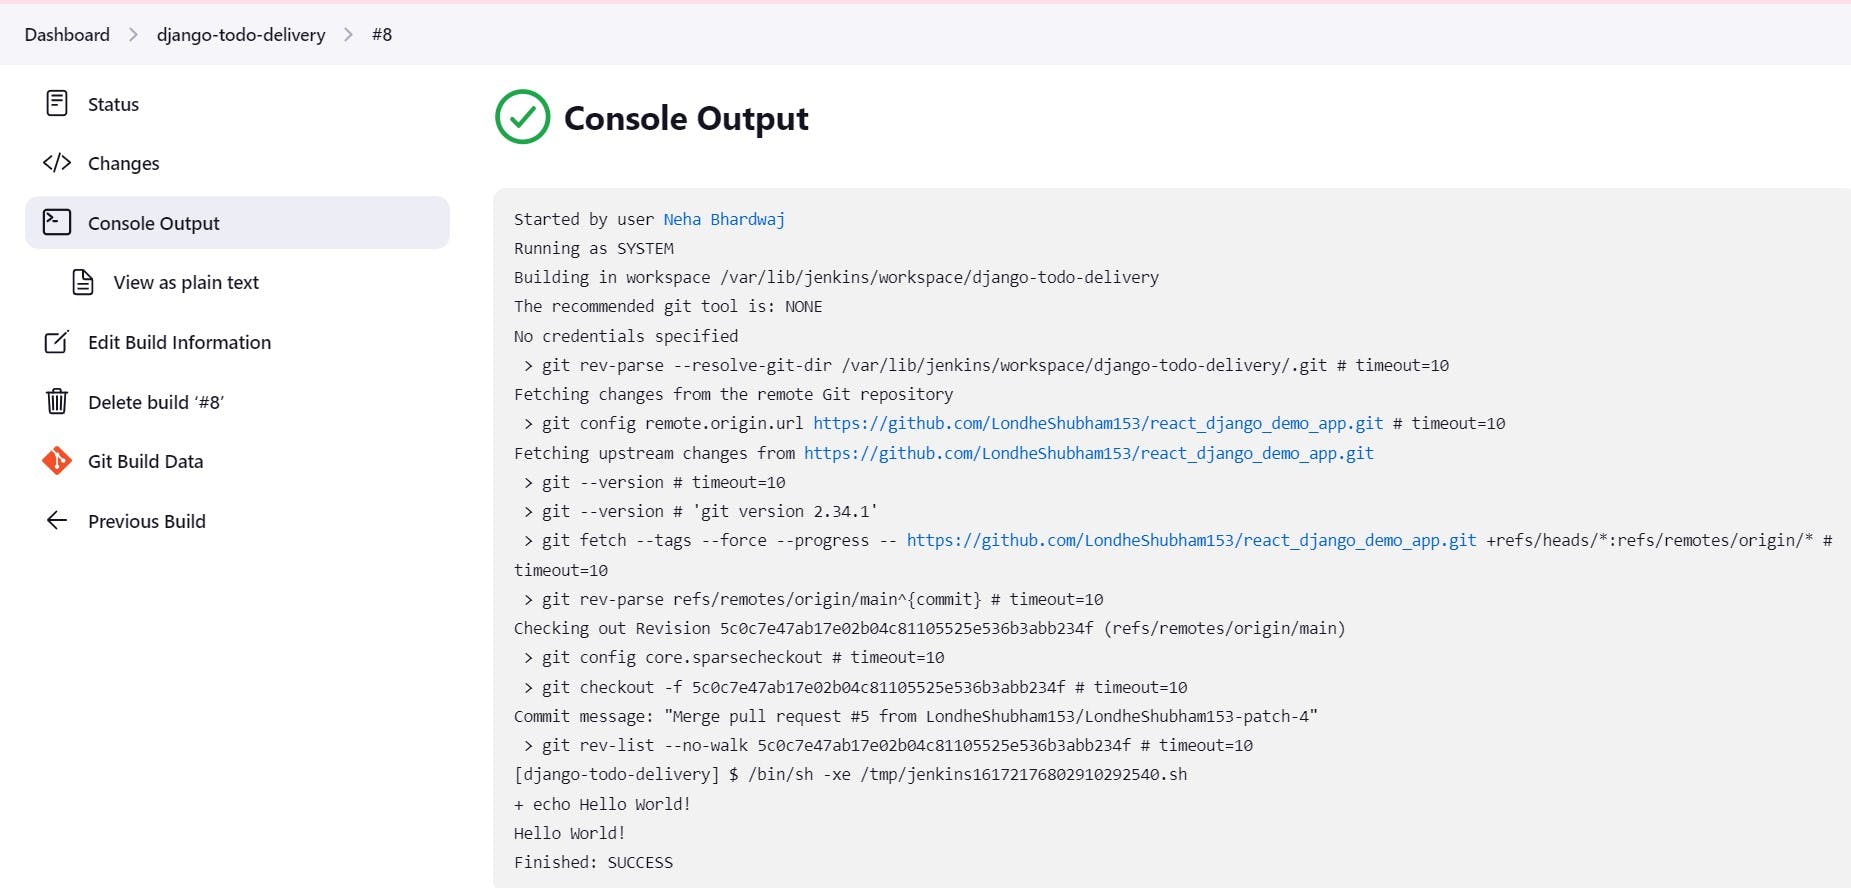
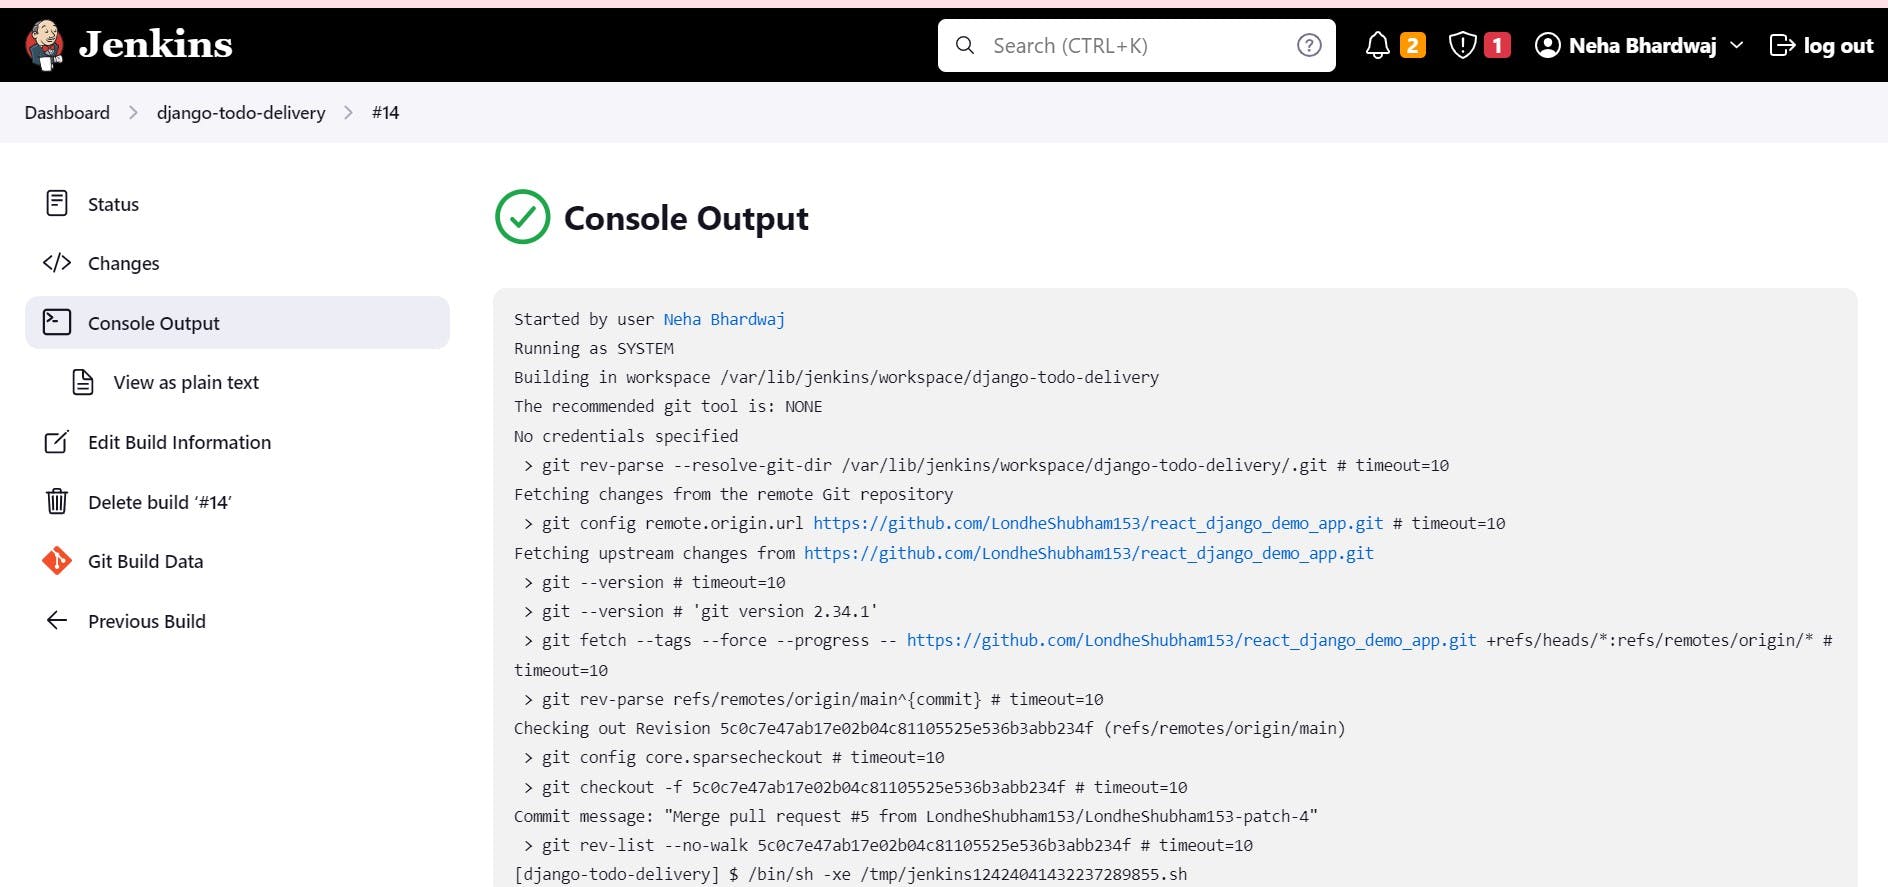
Step 7: Click on the third option on the left-hand side: 'Console Output' to examine the workflow of building a job.

Step 8: Here in the output, you will find the message 'Hello World' at the end of the page.
Read the output carefully. Starting with the user name, it will fetch the repository on path '/var/lib/jenkins/workspace/django-todo-delivery/.git' and build the code for you.
Freestyle Delivery Project 2: Under this, we will run simple Jenkins jobs for containerization of the Django-todo application using Docker-Compose services.
Note: The updates are being done in the previous project only. So, no repetition of basic steps will be there. Only the script in the build stage will be updated.
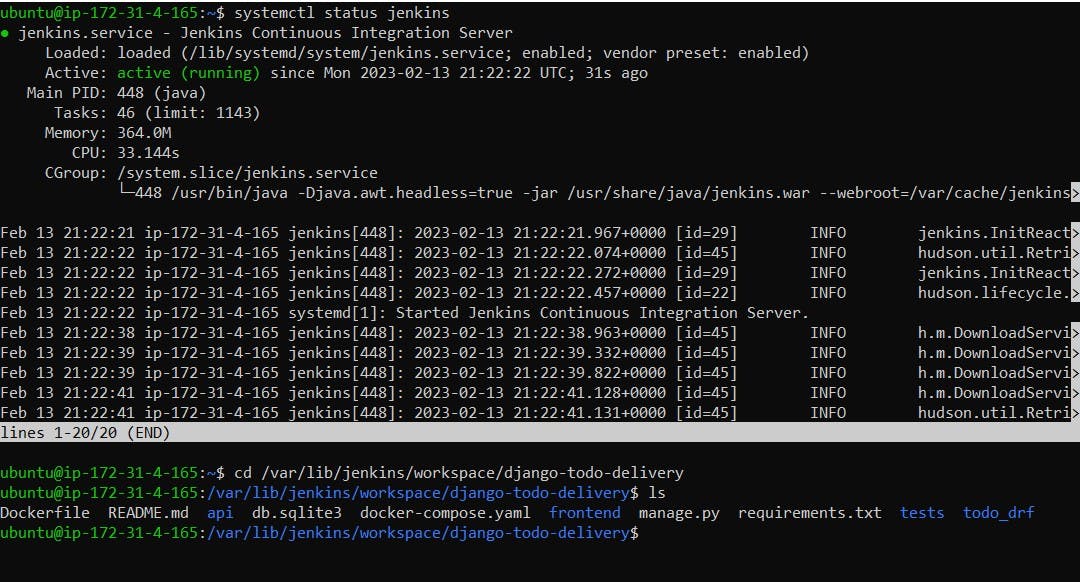
Step 1: Check the status of jenkins on the server CLI using the command : $ systemctl status jenkins
Go to the directory where the GitHub repository is cloned. This path is the same as the one observed in the console output of the last step of the 'Hello World' project. The project already contains Dockerfile and docker-compose.yaml file as shown in the screenshot below.
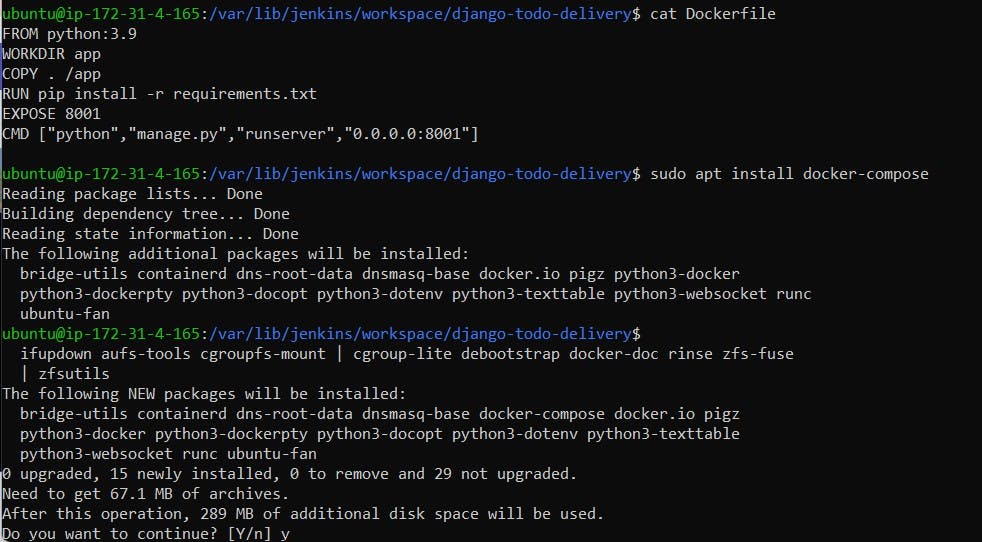
Step 2: Install docker-compose on the Jenkins server to run docker-compose services.
You can check Dockerfile using the command: $ cat Dockerfile
Step 3: To avoid errors in the project, check whether the containers are running smoothly or not and if they are perfectly running, then only write the script for docker-compose to run containers in the build stage of the project.
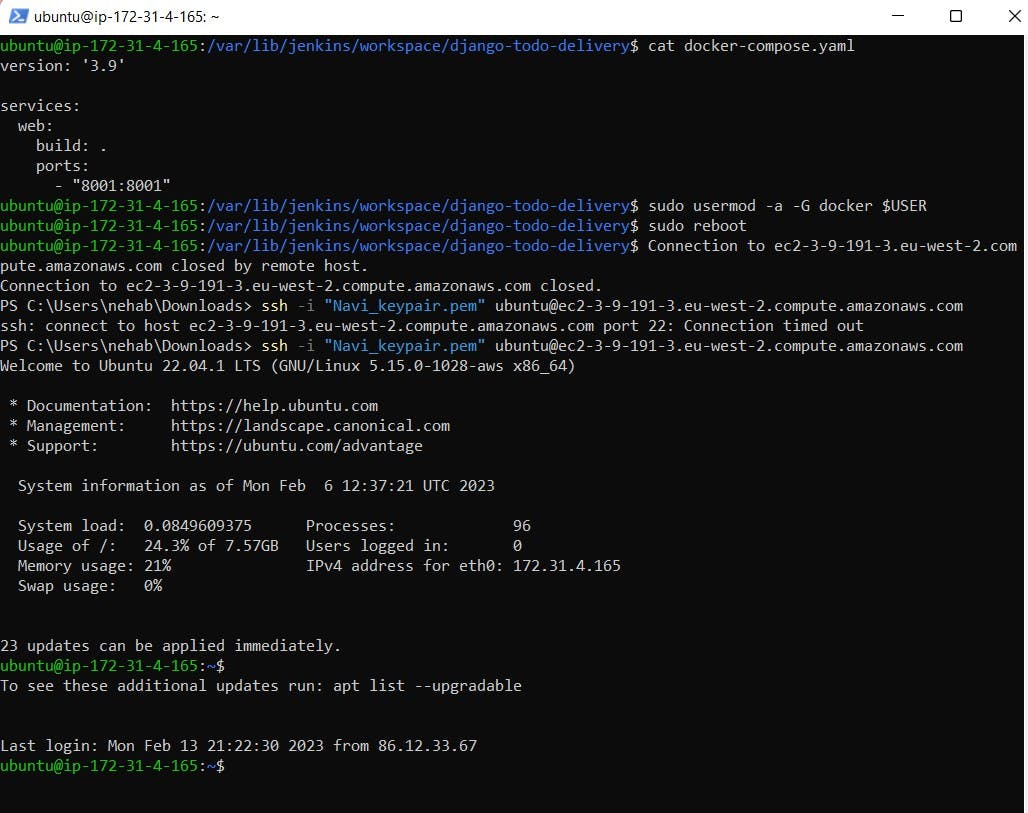
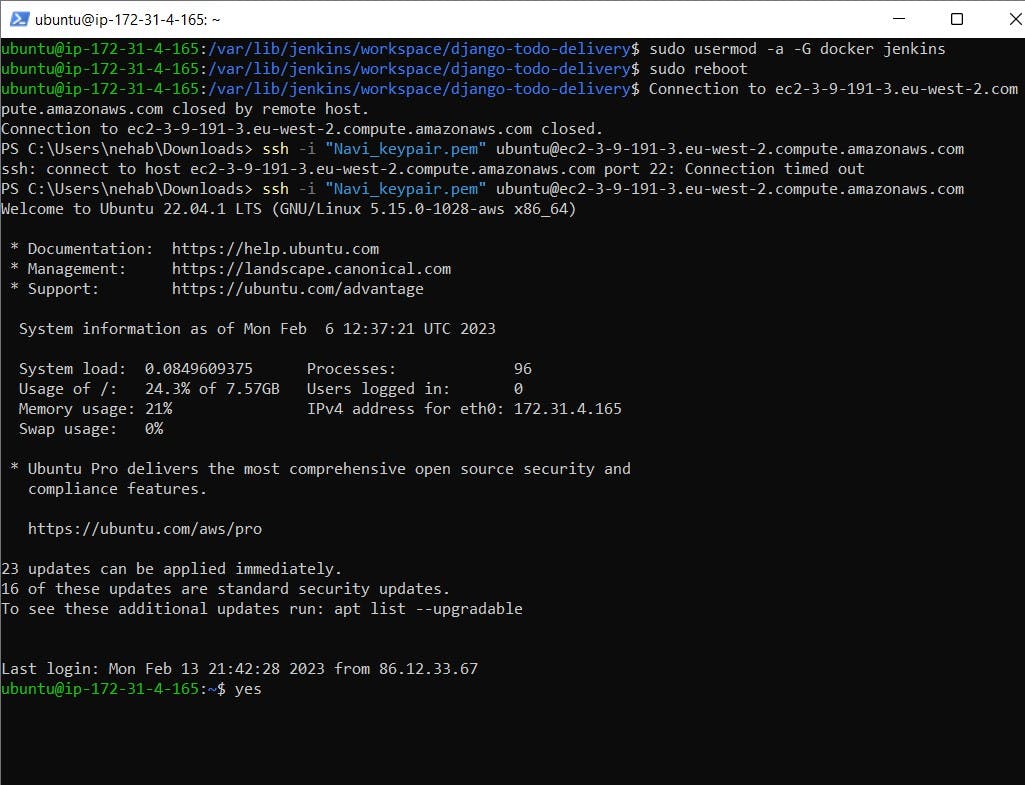
To do so, let's check the docker-compose.yaml file by using the command: $ cat docker-compose.yaml. Now add the current user in the docker group to give all permissions to use docker services by using the command: $ sudo usermod -a -G docker $USER and reboot the system to update the user permissions.
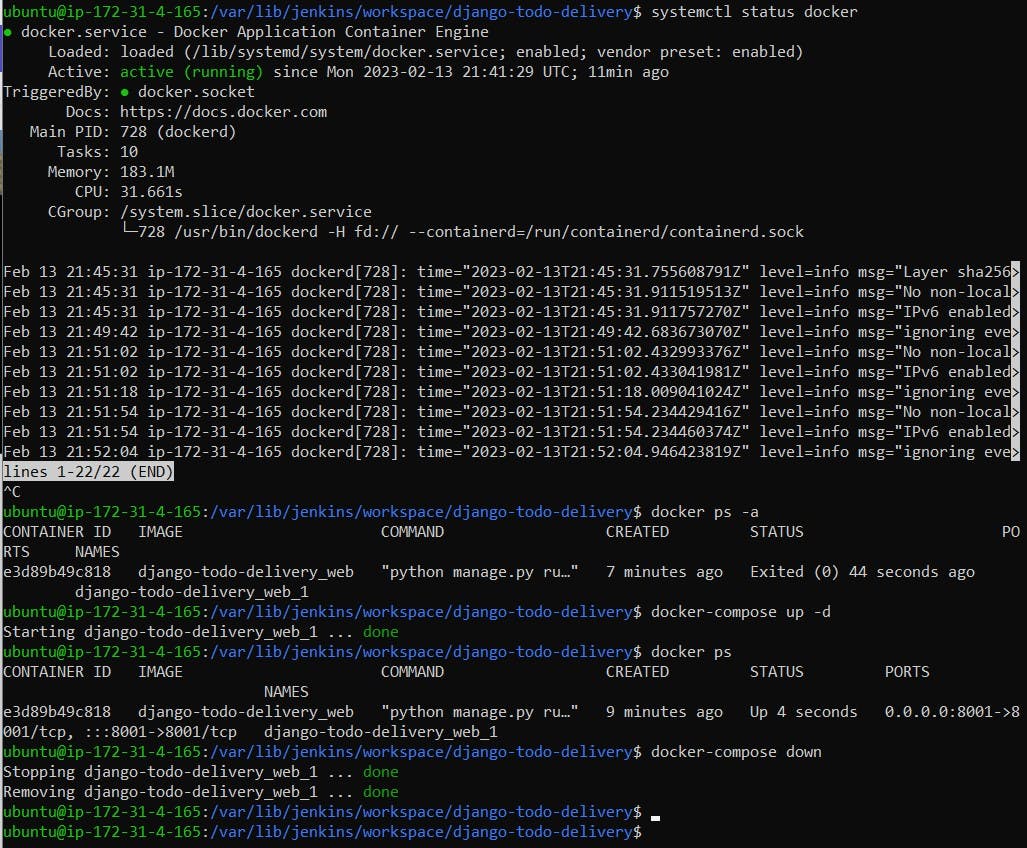
Check the status of the docker service using the command: $ systemctl status docker. If it is active, run the containers by using the command: $ docker-compose up -d in daemon mode. You will find the container for the Django-todo app is running successfully. Now turn the docker-compose down by using the command: $ docker-compose down. This will down the docker service.
Step 4: To run the docker services over the Jenkins server, we need to give the user 'Jenkins' permission as we have given to the current user in the previous step using the command: $ sudo usermod -a -G docker jenkins and reboot the system to update 'Jenkins' permissions.
Note: If you are not aware of the current user name, you can run the command $ whoami in the shell script of the project and run it to get the name in the console output.
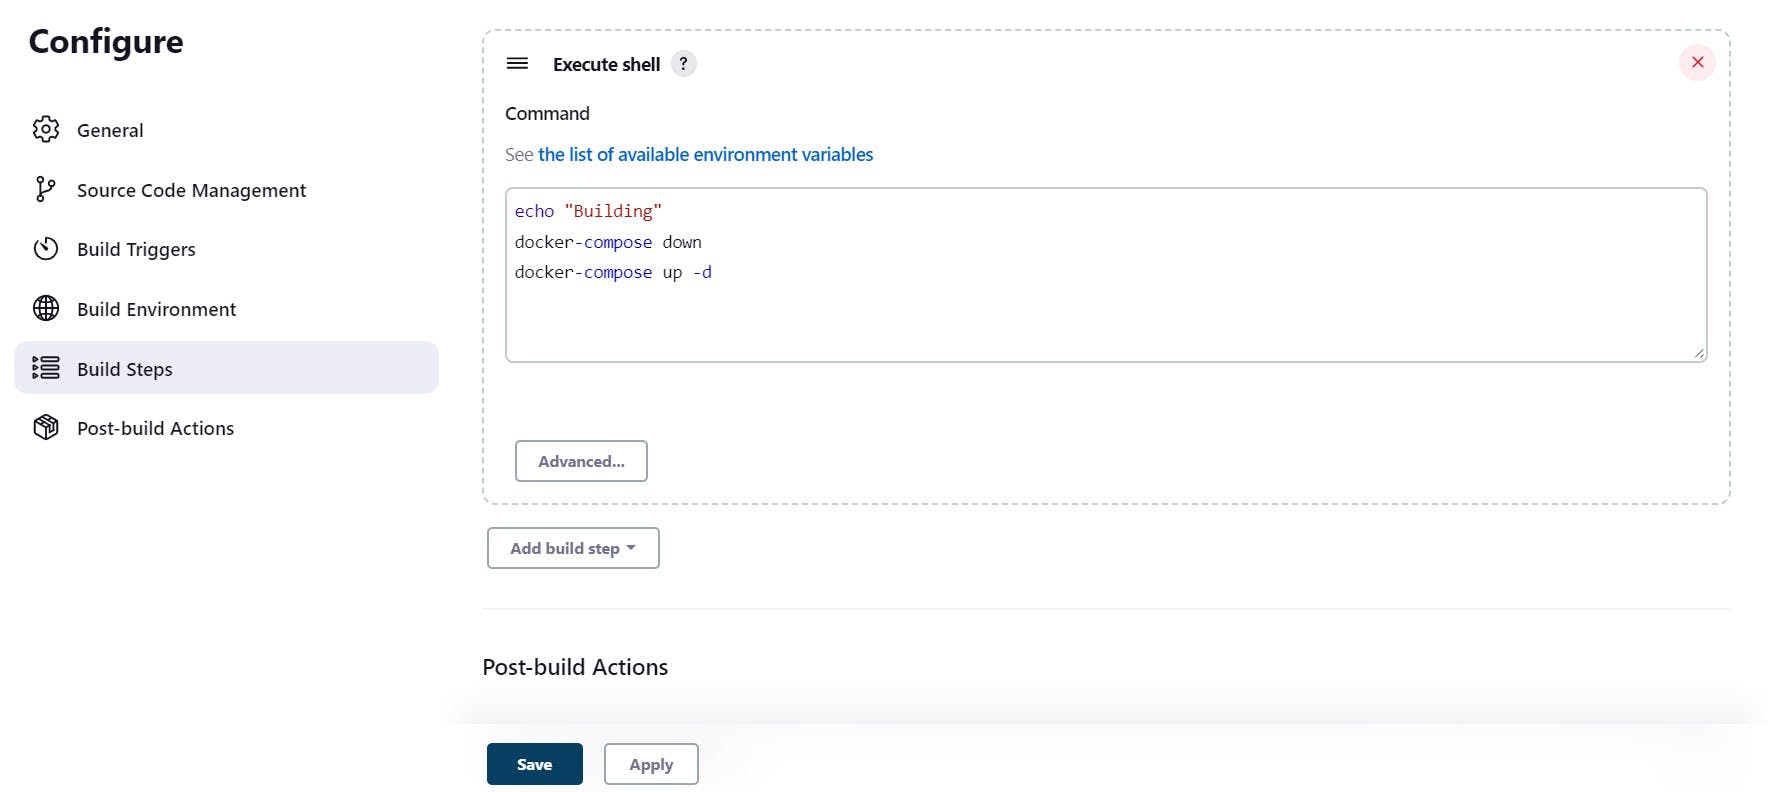
Step 5: Replace the script 'Hello World' with the script of docker-compose in the executable shell of the project as shown below.
Note: Why we should write down the command before the docker-compose up command? This is to avoid any error in the case of an already running docker-compose service. You must be thinking why we have not written docker build and docker run commands directly in the shell under the project. This is because, on every new build, a new docker container will be formed. So, it will create chaos as the container from the previous build is also in running mode.
Step 6: Run the project and you will get successful containerization of the application by using the docker-compose service as shown below.
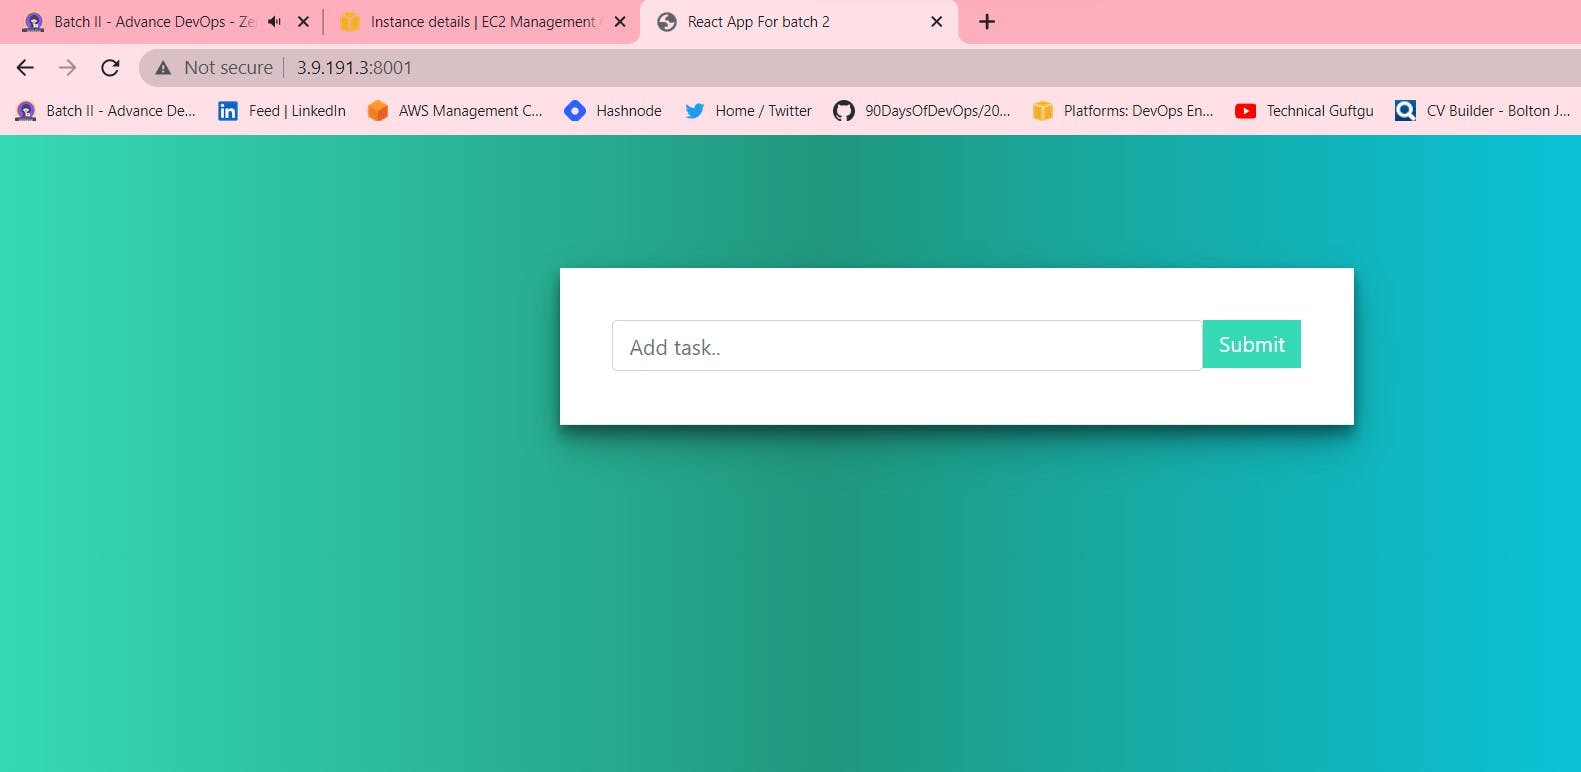
Step 7: Copy the public URL of the Jenkins server and run it with port 8001. You will find the webpage showing the application successfully running here.
Hope you find it interesting and informative. My next blog will be on CI/CD pipeline. Stay tuned. Follow me on Hashnode and LinkedIn if you want to learn DevOps tools with me. Thanks for the lovely comments and support. Happy Learning :) - Neha Bhardwaj