Understanding Jenkins
In the previous blog, we learned CI/CD which can be Continuous Integration Continuous Delivery or Continuous Integration Continuous Deployment. We have also discussed the difference between delivery and deployment. Now, the question is: How to achieve CI/CD in DevOps? There is a tool known as Jenkins that is used for the same. It makes a bridge between the developer, tester and end user. Let's understand Jenkins and install it on our systems for making projects.
Jenkins is an open-source automation tool written in Java with plugins built for continuous integration purposes. Jenkins is used to building and testing your software projects continuously making it easier for developers to integrate changes to the project and also making it easier for the users to obtain a fresh build.
“Jenkins is a simple, extensible, and user-friendly open-source tool that provides continuous integration services for application development.” It also allows you to continuously deliver your software by integrating with a large number of testing and deployment technologies. With Jenkins, organizations can accelerate the software development process through automation. Jenkins integrates development lifecycle processes of all kinds including build, document, test, package, stage, deploy, static analysis and much more. Building a job refers to the automation of the whole process of code, building, testing and deployment.
Jenkins Installation
Jenkins achieves continuous integration with the help of plugins. Plugins allow the integration of various DevOps stages i.e. if you want to integrate a particular tool you just need to install the plugins that are required for that tool. For example, the various plugins that are supported by Jenkins include git, maven, project Amazon, ec2, HTML publisher etc. Jenkins is completely developed using Java so therefore the base software is java.
Step 1: We will first update the Ubuntu operating system add-ons using the command below:
$ sudo apt update
The command above is used for downloading different package update information from the built-in add-on on the Ubuntu Operating System. It automatically updates the versions of the different available packages from the internet and it is advisable to run the command before running any installation on the Ubuntu System.
Step 2: After the update is done, we will need to install Java on the operating system using the command below:
$ sudo apt install openjdk-11-jdk
Before the Java installation is commenced, there are two factors to be considered. As said earlier above, Jenkins is solely developed using java and java has to be installed on the baseline operating system to run Jenkins smoothly. We will need to now consider the Java package to be installed before commencing the Jenkins installation. We will be installing the JDK which is the Java Development Kit instead of the JRE. The JRE which is the Java Runtime Environment is used if we only want to run a java program but as we will be needing more than that, the JDK (Java Development Kit) will be installed including the development tools, debugging tools and libraries.
Step 3: After the installation of Java, we can now go ahead and safely install Jenkins key. Using the command below:
$ sudo wget -q -O - https://pkg.jenkins.io/debian-stable/jenkins.io.key |sudo gpg --dearmor -o /usr/share/keyrings/jenkins.gpg
From the above command, we will be downloading our Jenkins key from the stated URL in the command and afterward will be moving the downloaded keys to our Jenkins repository which is located at /etc/apt/sources.list.d/jenkins.list as shown in the below command:
$ sudo sh -c 'echo deb [signed-by=/usr/share/keyrings/jenkins.gpg] http://pkg.jenkins.io/debian-stable binary/ > /etc/apt/sources.list.d/jenkins.list'
Step 4: After successfully downloading the Jenkins key, we can now install Jenkins. The command below is used for Jenkins installation:
$ sudo apt install jenkins
The above command will initiate the installation of Jenkins having already done the java installation and the key download.
Step 5: Once Jenkins is installed, we will copy the public IP with the URL to the browser and open it in port 8080.

Afterward, the Image above will be generated to display the location of the password to be used.
Step 6: The command below is used to generate the first password for the user to be used for Jenkins registration. It is by default kept on the location /var/lib/jenkins/secrets/initialAdminPassword.
$ sudo cat /var/lib/jenkins/secrets/initialAdminPassword

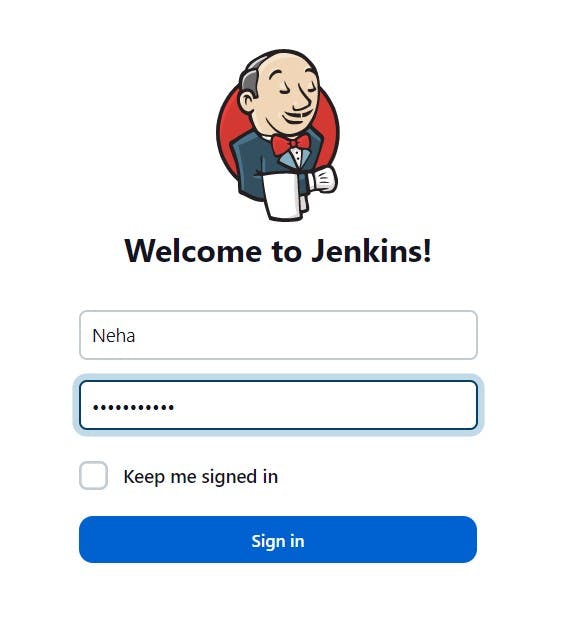
Once signed in to Jenkins using the above password, you can generate your first user_id and user_password. Here, Neha is the first user created. This user_id and password will be used later on to log in to the Jenkins server.
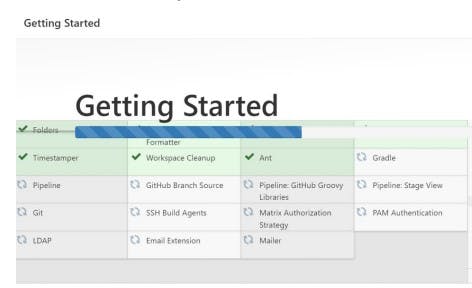
Step 7: Download all the necessary plugins at the initial stage to support Jenkins services.

After the registration is completed, Jenkins plug-ins such as git, maven, pipeline, Ant, SSH build agents, LDAP, mailer etc are downloaded and ins.
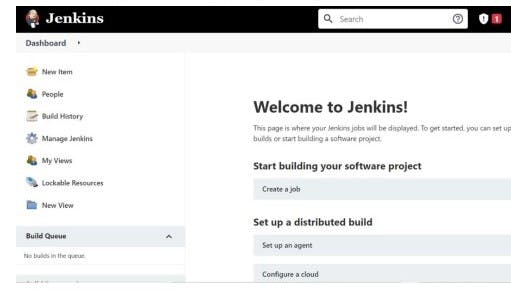
Step 8: Here is the Home page of Jenkins.

From the above Image, we can see the Home page dashboard where we can create a new job, manage Jenkins, add a new item, check the build history etc.
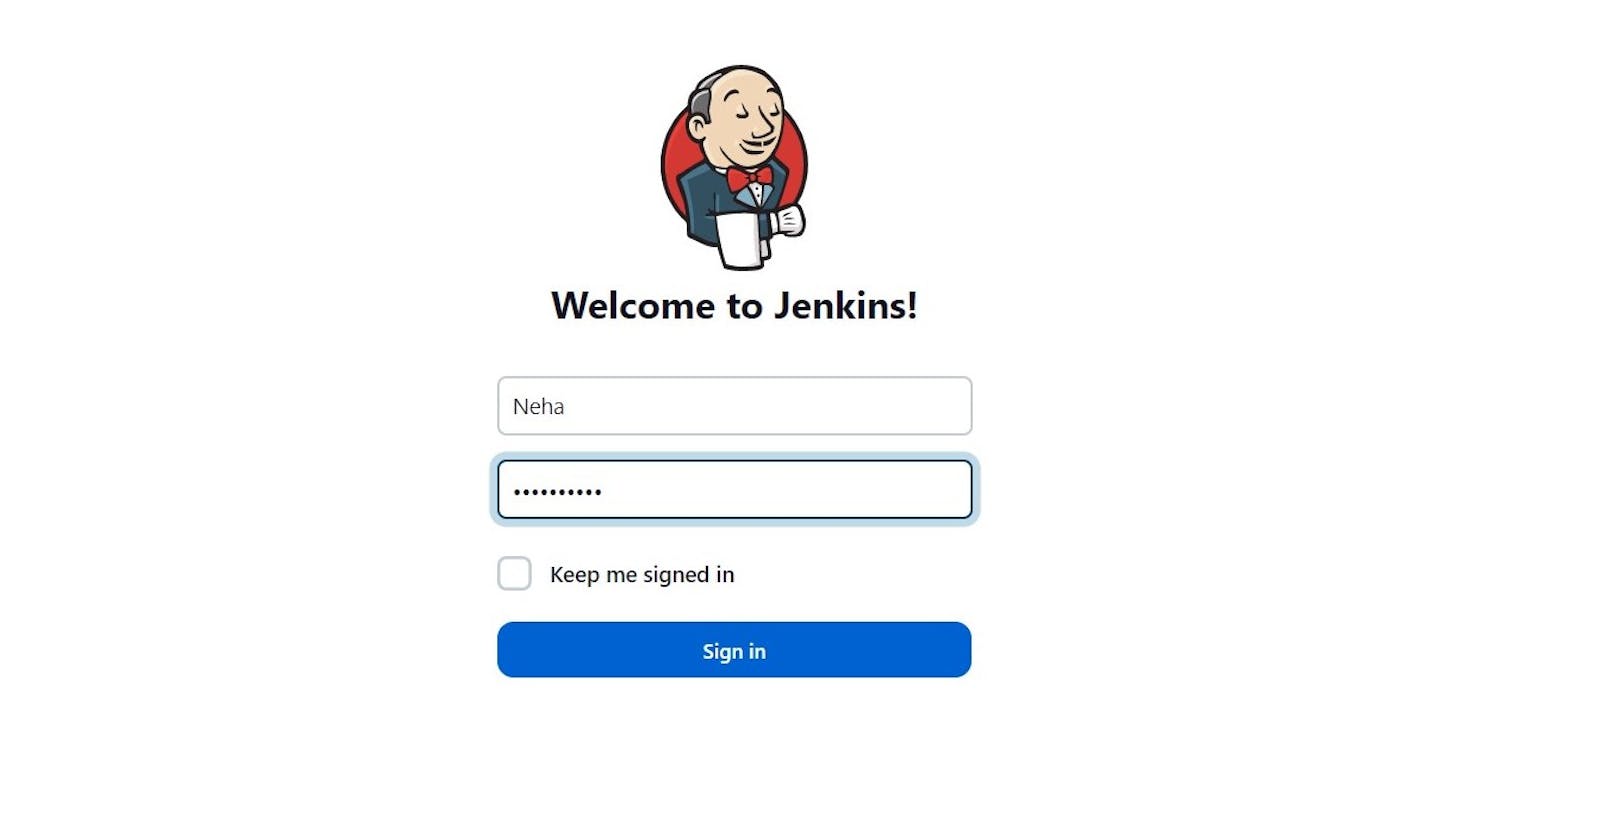
Step 9: To log in to the Jenkins server every time, remember the user_id and password that was generated at first. This is how you log in to the server every time:

All done for the Jenkins fundamentals and installation. Thanks for reading the blog. Stay Tuned. Hope you find it interesting and informative. Will upload the next blog on the Jenkins projects. Happy Learning :)- Neha Bhardwaj
